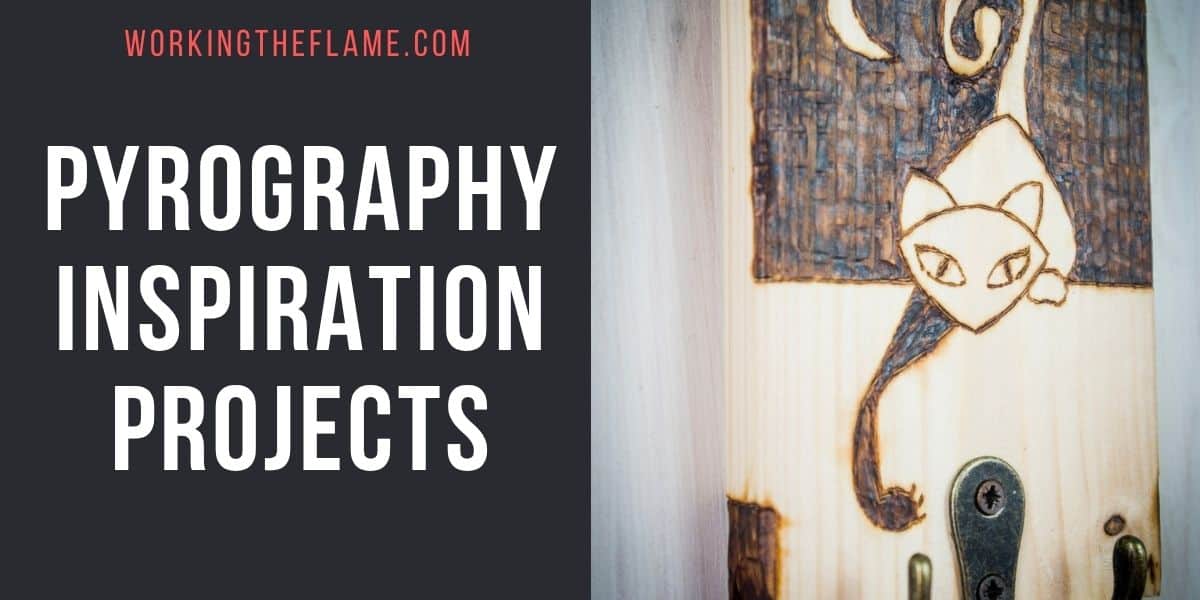
Wood burning is one of those crafts that can take a plain piece of timber and turn it into something truly personal! With some heat, a bit of patience, and a spark of creativity, you can make designs that really show off your style, whether you’re into bold patterns or more subtle details. You’ll figure out how to turn simple wood into meaningful art that fits your space and personality.
This collection of projects is all about giving you fresh ways to practice your technique while making something useful (or just nice to look at). You’ll bounce from nature-inspired patterns to geometric shapes and custom designs that let your own style come through. There’s plenty here to keep your pyrography projects interesting and, hopefully, pretty satisfying.
1) Floral Mandala Wood Plaque

Start with a simple circular pattern and burn it into a smooth wooden surface. A fine pyrography tip is your friend here! trace petals and lines evenly around the center, keeping your hand steady for crisp outlines.
Mixing floral shapes with geometric rings can help balance things out. Sometimes it’s fun to check out mandala templates online, but you can always just wing it if you’re feeling creative. Adjust the size to fit your plaque and leave a little room for shading.
Try adding light burn tones for a bit of depth, or fill in small sections with colored pencils after the wood cools. That way, you keep the design clear but still a bit playful.
2) Personalized Wooden Coasters

Plain wooden coasters are kind of like blank canvases; grab a wood-burning pen and go for it. Circles or squares are easiest for practicing consistent lines.
Initials, a short phrase, or a tiny floral pattern can make them feel personal. Try to keep your lines steady; uneven burns can be hard to fix.
You could go for light shading to add a little depth, or stick with bold outlines for a more graphic look. These coasters are practical, make thoughtful gifts, and give you a quick project to work on your skills.
3) Geometric Animal Silhouettes

If you’re bored with the usual animal outlines, why not give them a modern twist? Straight lines and sharp angles can turn a fox, bear, or bird into something sleek and graphic.
Start with a basic outline, then break it into triangles or polygons. Burn along those lines, keeping the pressure even so the edges stay crisp. This style looks good on coasters, wall plaques, or small panels.
Try mixing up your shading – lighter burns for highlights, deeper tones for shadows. It’s an easy way to add contrast and make the whole thing pop just a bit more.
4) Inspirational Quote Plaque

Burning a short quote or favorite saying into a simple wood plaque is a classic move. Choose words that fit your vibe, something upbeat for your desk, or calm for a bedroom.
Play around with fonts and letter spacing before you start burning. Light pencil marks help keep everything lined up.
A small border or a couple of shapes around the quote can help frame it. A clear sealant at the end will protect your work and keep it looking sharp.
5) Rustic Tree of Life Design

A Tree of Life pattern adds a natural vibe to any wood piece. The design works nicely on plaques, coasters, or wall art, especially if the wood grain shows through the branches and roots.
Start with a light pencil outline. Take your time burning so the lines stay clean and you don’t end up with wobbly roots.
Little details like leaves or a simple border around the tree help finish the look. Shading the trunk a bit gives some depth, but don’t overdo it, as sometimes rustic is best.
6) Abstract Line Art

If you like things a bit less structured, try abstract line art. Just burn flowing or geometric lines across a smooth surface. Start simple and focus on rhythm and balance, not tiny details.
Sketch your pattern in pencil first so you can adjust as you go. Thin lines look delicate, thick ones add punch.
Overlap some curves or cross a few angles, as sometimes the best designs just happen as you work. Even if you use the same idea twice, each piece ends up a little different.
7) Custom Name Keychains

Make those little wooden keychains more personal by burning names or initials into them. Grab a wood slice or a small rectangle. Sketch the letters first so you don’t run out of space.
Try block letters for a modern look or cursive for something softer. Adding a tiny icon (maybe a leaf or a heart) makes each one unique.
Seal the wood with a clear coat to help it last. These are great for gifts or events and show you put in a little extra effort.
8) Seasonal Holiday Ornaments

Small wooden ornaments are a nice way to add a handmade touch to your holiday decor. Shapes like stars, bells, or reindeer are quick to make. Burn in details like snowflakes or a short greeting for a classic look.
Light woods like birch or basswood work well since they show fine lines. You can stain or paint a few parts for color, just don’t cover up your burn marks.
Personalize with names or dates to turn them into keepsakes. They work as gifts or even fancy gift tags.
9) Vintage Compass

A wooden plaque with a compass design feels timeless. Try it on reclaimed or lightly sanded wood so the grain peeks through.
Keep your lines balanced and the compass centered. Add a simple border or a couple of directional symbols, but don’t overcrowd it.
This kind of wall art looks great in a hallway or office, especially if you like a little nautical or vintage flair.
10) Celtic Knot Patterns

Celtic knot patterns bring a timeless touch to woodburning. These looping designs weave over and under, symbolizing unity and eternity.
Start with simple knots before tackling anything too detailed. A rooster knot or a knotted heart is good practice for outlining and shading.
Focus on keeping your lines even. The flow of each curve matters more than speed, so slow down and enjoy the process.
11) Minimalist Mountain Scene

Sometimes less really is more. Outline a mountain range with clean lines using a fine-tip pen – gentle slopes or sharp peaks, it’s up to you.
Light-colored wood like basswood keeps the contrast soft. Toss in a couple of pine trees or a faint sun if you want, but don’t crowd it.
Leave some open space. That calm, uncluttered look is what makes minimalist art work.
12) Detailed Feather Illustration

Feather designs are a great way to practice precision and shading. The fine lines and layered texture really test your control.
Sketch the feather first so you don’t lose your proportions. Overburning is tough to fix, so go slow.
Try different tips: a rounded nib for soft transitions, a fine-point tip for sharp edges and tiny details. Each feather ends up a little different, and that’s half the fun.
13) Ocean Wave Motif

You can really set a mellow mood with smooth curves and layered shading, almost like catching the waves mid-motion. Focus more on how the water flows rather than outlining every crest, and let the movement feel loose and natural. Lighter burns up by the crests and deeper shades in the troughs add some much-needed depth, in my opinion.
If you’re into details, grab a fine tip for foamy highlights, or maybe try a soft airbrush tint across the surface for a bit of color. This mix of burning and blending gives the water a surprisingly realistic vibe.
Follow the direction of the wave with your strokes, but don’t stress about being too perfect. A few tone shifts here and there make things look lively without making it all too busy.
14) Botanical Leaf Impressions

Bringing natural shapes into your pyrography is honestly easier than it looks! Just trace a real leaf onto smooth wood and you’ve got a simple, elegant pattern. Great for coasters, plaques, or even ornaments if you’re feeling crafty.
Try burning different kinds of leaves, such as oak, maple, fern, etc. Each one has its own personality, and the lines always surprise me with how much detail they add.
When it comes to shading, tweak the heat or pressure a bit. Lighter strokes can hint at soft veins, while darker burns help the edges stand out. It’s a nice way to keep things looking crisp but still organic.
15) Celestial Moon and Stars
For a calm, night-sky vibe, try sketching a crescent moon and tossing in a handful of scattered stars. Clean lines and gentle shading help the moon’s curves and craters stand out.
Mixing light and dark burns makes the stars pop, and if you’ve got a fine-tip pen, you can add tiny details—maybe a faint halo or some texture on the moon’s surface.
If you’re into symbolism, add a constellation or two that means something to you. This kind of design works just as well on a box as it does on a wall plaque.