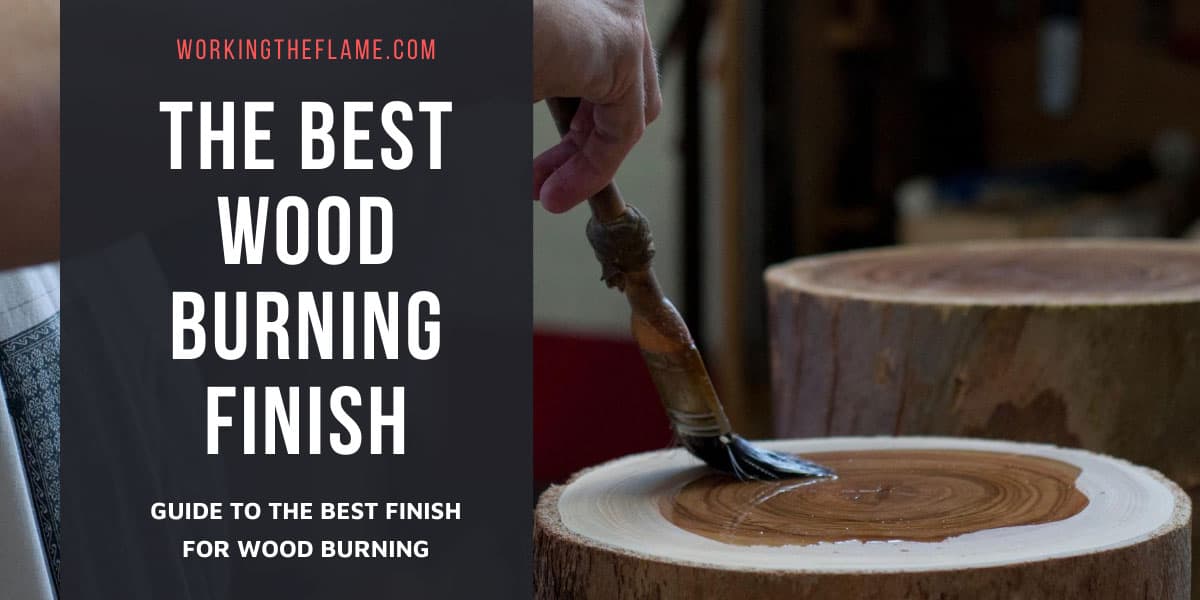
The Best Finish for Wood Burning & Pyrography (How to Seal Burnt Wood)
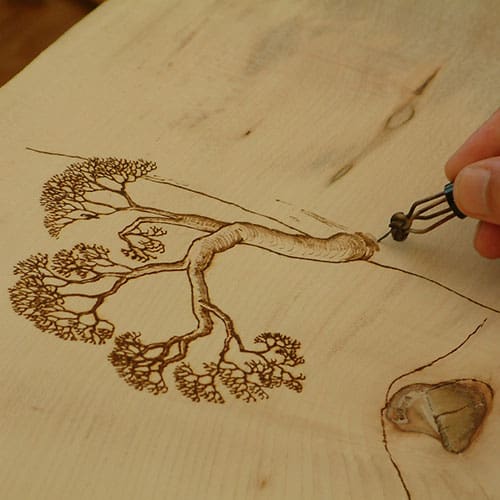
Pyrography is the art of burning images onto wood surfaces. Artists use a range of tools and wood types when working, and usually apply different finishing products when the burning process is complete. There are many finishes available on the market today, and each has its pros and cons.
While finishing products are not completely necessary, most pyrography projects benefit from the protection they offer. It is in your best interest to familiarize yourself with the products available and know their strengths and weaknesses so you can choose the best one for your project.

- This wood burning kit includes 20 wire nib pyrography tips in varied shapes, 2 wood pieces, 2 spare...
- The temperature is adjustable from 482 to 1382°F (250 to 750°C), and the temperature value is...
- Our pyrography wood burning kit comes with an integrated holder design, making our main unit super...
How to Prepare Wood for Burning & Finishing

Before you can apply a finish, you need to properly prepare your project. Start by sanding down your wood to a 220 grit. Then, wipe the sanded surface with water and let it air dry. Repeat this process again depending on the type of wood used and your personal preferences.
Most woods commonly used in pyrography should be sanded and rinsed twice to ensure a smooth surface for finishing. Make sure to prep your wood in this way before burning, because sanding over artwork can damage or alter its appearance.
Considerations Before Applying a Finish
1) Put your finishing product in a bowl before using
Dipping your brush directly into the can of finish will contaminate the entire product. If your brush has been used on wood previously, some of that wood’s color may have soaked into the bristles of the brush and will cause discoloration to the finish if dipped into the can directly.
Work with small amounts in a clean bowl to prevent contaminating your entire supply of finish.
2) Make sure your work environment, finishing product, and wood are warm.
Most sealants/finishes will require warm temperatures to properly set and dry. Read the label of your product to see what temperature is required. Make sure that the room in which you are working is warm, as well as the finish itself.
If you store your wood finishes in a garage or shed that gets cold, bring the finishes inside to warm up before using.
Warming your wood surface will also be beneficial to the setting process and prevent any bubbles from forming on your work.
3) Use one finishing product at a time and apply in thin layers.
When in doubt, it is best to follow the instructions provided on the label of your finishing product. Two basic tips to always follow, however, are to not mix finishes and to work in thin coats.
Take your time when choosing and applying a sealant or finish to ensure that you are using the right one for your project with the right technique. The chemical compositions of different products do not mix, so use one per project. Apply multiple thin coats of product instead of one thick, goopy layer to get better results.
4) Work in a well-ventilated area.
Finishing products are made of strong chemicals that are potentially damaging when inhaled. Work in an airy, open space to avoid health risks.
If you are concerned about inhaling fumes, or have any preexisting health conditions, wearing a mask is also a good idea.
Spray On vs Brush On Products – What’s Best?

Some of the types of products listed below come in spray or brush on varieties. Both work well for pyrography projects, so choose what will work best for you. While sprays are more convenient, they can be more expensive, so if you do a lot of wood burning, invest in some brush on cans of finish instead.
Spray on products can also cause pooling and unevenness when sprayed incorrectly. Even, steady sprays will prevent these issues. Overall, the money you save will make the slower process of brushing on finish worth it in the long run.
Here’s a video with some great extra tips for applying spray on finish:

Spray On Advantages:
- Convenient
- Good for small projects
Spray On Disadvantages:
- Less cost-effective
- Requires good technique to avoid pooling
Brush On Advantages
- Cost effective
- Easy to control application and amount of product used
Brush On Disadvantages
- Time consuming to apply
Best Type of Pyrography & Wood Burning Finish (Pros & Cons)
1) Lacquer
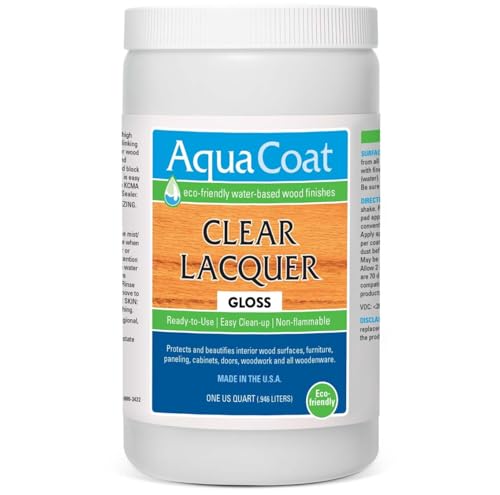
- Achieve a professional high-gloss look with Aqua Coat Clear Lacquer, formulated for interior wood...
- Experience rapid drying times with touch readiness in just 10 minutes, allowing for quick sanding...
- Enjoy the benefits of extreme clarity, mar resistance, and non-yellowing properties, ensuring...
If you are looking for a product that provides a durable finish, lacquer is a great option. It should be applied with a lacquer thinner at first, and then can be built up. Lacquer has a fast drying time, can be brushed on or sprayed on, and is easy to find at hardware stores.
It has a strong smell, so work in a ventilated area. This product does age over time, so keep that in mind when choosing it. Luckily, aged lacquer finishes can be sanded down and new lacquer can be reapplied easily.
Learn more about lacquer here.
Advantages
- Easy to find lacquer and lacquer thinner at local stores
- Fast drying time
- Durable
- No sanding required
Disadvantages
- Strong smell
- Can age over time
- Requires several coats
- Should be used with a lacquer thinner
2) Oil
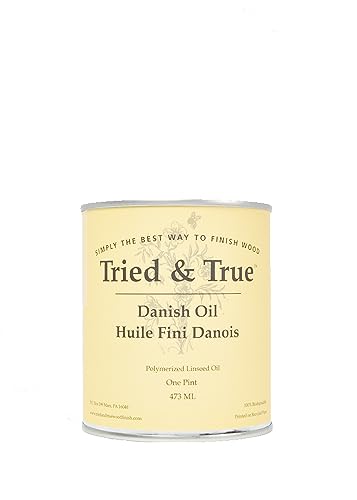
- SUPERIOR PENETRATION & FAST CURING: Tried & True Danish Oil is designed for faster absorption and...
- VERSATILE APPLICATIONS: In addition to traditional wood finishing technique, this linseed oil for...
- PROFESSIONAL QUALITY: This linseed oil for wood is commonly used by woodworking professionals for...
Oil is a durable finish that accentuates natural wood grains. Common types of oils for pyrography projects are Tung, Danish, lemon, walnut, and mineral oil. Oils are applied using a brush. Allow the oil to set and then wipe the excess with a cloth. The oil will need to set overnight before applying another coat or using the item.
Oil finishes are great for keeping wood moisturized, and are commonly used for practical items that come into contact with food, like cutting boards. Mineral oil is a great choice for cutting boards because it is non-toxic and can handle high heats without going rancid.
To learn how to finish a cutting board with oil, watch this tutorial.
Advantages
- Brings out the natural look of all woods
- Easy to apply
- Affordable
- Safe for kitchen items
Disadvantages
- Doesn’t seal the wood from dust and oil
- Will need to be reapplied occasionally
- Sets overnight
3) Shellac

- Blocks odors in wood, plaster, drywall, and masonry
- Traditional finish & sealer
- All‐Natural, non‐toxic, easy to use
Shellac is made from the secretions of a female Lac bug, so this product is considered a natural finish. It is therefore very safe to use because it doesn’t contain harsh chemicals. Apply shellac in a thin layer and let it set for 45 minutes. It is then okay to apply another coat or two.
This product is good for any pyrography project that is not exposed to heat. Otherwise, the shellac will discolor the wood. Avoid using this product on coasters and cutting boards.
For helpful tips and tricks about applying shellac, check out this video.
Advantages
- Safe and natural
- Easy to use
Disadvantages
- Shouldn’t be used on items exposed to heat
4) Polyurethane
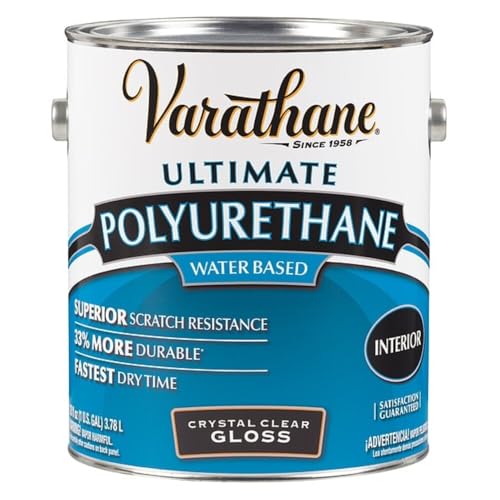
Polyurethane is one of the most common wood finishing products. It comes in spray on and brush on varieties and in a wide range of formulas. High gloss, gloss, and semi-matte finishes are the most popular and are appropriate for most pyrography pieces.
Water-based and oil-based options are offered and both are a good option depending on your personal preference. Polyurethane can give wood a yellow hue, so keep that in mind when choosing this product.
To use polyurethane properly, brush on a thin coat, let it dry for three or four hours, sand, and apply another coat. Three coats usually does the trick for pyrography projects.
Tips for applying polyurethane can be found here.
Advantages
- Provides a tough, durable finish
- Lasts a long time
- Many varieties for different needs
Disadvantages
- Sanding is required between coats
- Several coats are required, each with lengthy drying times
- Can give projects a yellow hue
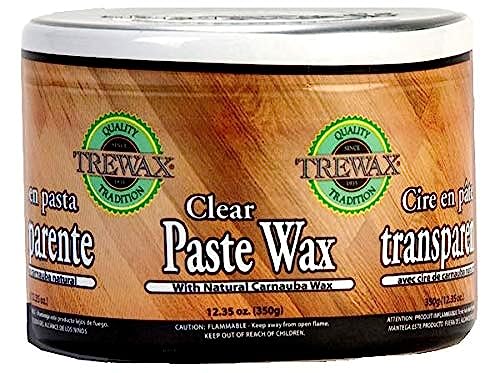
5) Paste Wax
- Furniture Polish - Trewax Paste Wax with Carnauba wax restores original brilliance to any floor...
- Contains Brazilian Carnauba Wax - Trewax Paste Wax contains Brazilian Carnauba wax which is perfect...
- Floor Cleaner with a Non-Slip Formula - This hardwood floor polish is suitable for an array of...
Paste wax is an affordable product that provides a natural finish for any type of pyrography project. Paste wax is applied with a clean cloth. Rub one light coat onto the surface and let it dry. As it dries, buff into a sheen and apply another layer if needed. Be careful not to apply too much wax or the wood will take on a cloudy appearance.
This method of finishing is very customizable and allows for a lot of control. It is easy to apply thin coats when using wax and the finish ends up looking very minimal and natural. Use paste wax if you want to accentuate the wood without taking away from its natural beauty.
For advice on using this product, check out this video.
Advantages
- Easy to customize
- Affordable
- Offers a natural, minimal finished look
Disadvantages
- Time consuming to apply
- Requires buffing
- Can be overapplied and difficult to remove
6) Nothing!
The easiest and most cost-effective option for wood finishing is using nothing at all. This is not recommended for most pyrography because the artwork will get damaged over time due to oil transfer from fingers, dust, and moisture loss.
However, if you have a simple project and you are not worried about damage, skipping the finishing process will save you time and money.
Advantages
- Easy
- Cheap
Disadvantages
- Pyrography will get damaged over time due to oil, dust, and moisture loss.
Hi,
I am making a nameplate using pyrography, to hang on the outside of my house. What would be the best finish option to make it sustainable in all weather conditions? Thank you!
Loes