
Starting blacksmithing, honestly, is a bit like jumping into a mix of craft, curiosity, and a touch of stubbornness. You’re working with heat, metal, and just a handful of pretty basic tools, trying to coax something useful (or at least interesting) out of raw stock. You pick up real skills along the way – skills that actually boost your confidence and get you ready for more ambitious projects down the road.
Even the smallest things, such as hooks, rings, bottle openers, can teach you the fundamentals. Every project is a chance to get a little more comfortable with the hammer, to see how metal shifts and stretches. It’s kind of wild how much you can learn with just a forge, some patience, and a plan that doesn’t overcomplicate things.
1) Forging a Basic S-Hook

A simple S-hook is a classic way to get your feet wet. You’ll learn to heat, draw out, bend, and scroll metal. Grab a short piece of mild steel round stock and get it glowing orange in the forge.
Taper the ends on your anvil, then bend them into smooth curves. Flip it around, shape the other side, and you’ve got your S.
It’s a quick lesson in hammer control and understanding how steel reacts to heat. Plus, you end up with a handy hook for tools or the kitchen.
2) Making a Bottle Opener

A basic bottle opener is one of those projects that’s both fun and genuinely useful. All you need is a forge, hammer, tongs, and anvil. Start with a small chunk of steel, heat it up, and draw out one end for the handle. Try to keep the metal hot while you work, as it moves so much easier.
Punch or drift a hole for the opener part, then carefully shape the hook so it’ll catch a bottle cap without slipping. A file or drift can help tidy up the opening.
Brush off the scale and slap on a little oil or wax. Now you’ve got a bottle opener that’s built to last and doesn’t look like it came from a store.
3) Creating a Simple Nail Punch
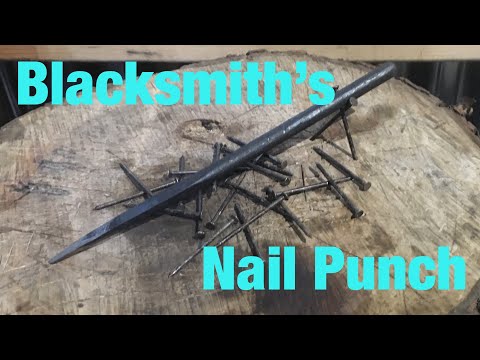
A nail punch is one of those “why didn’t I make this sooner?” tools. Just grab a chunk of tool steel or even an old bolt. Heat the end til it’s glowing, then hammer out a nice, centered taper.
Once you’re happy with the shape, smooth it up with a file. Harden it by heating and quenching in oil or water, then temper it a bit so it doesn’t shatter.
Let it cool and give it a test on some scrap. If it leaves a clean mark and doesn’t bend, you’re good to go.
4) Crafting a Small Tapered Hook
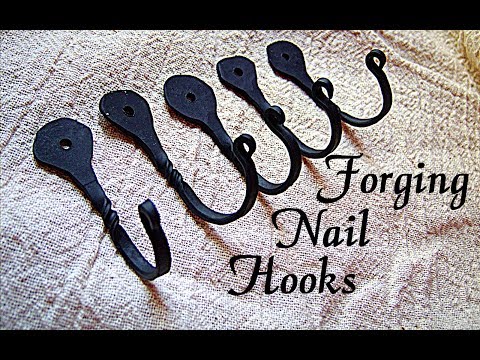
For this one, cut a piece of mild steel about six inches long. Heat one end until it’s glowing and hammer it into a nice taper. It’s a great way to get a feel for shaping and stretching metal.
Bend the bar around your anvil’s horn or a pipe to make the hook. Try to keep the metal hot enough to move, but not so soft it just squishes.
Round off any sharp bits and brush away the scale. A little oil or wax keeps rust at bay and gives it a nicer finish.
5) Forging a Leaf-Shaped Pendant
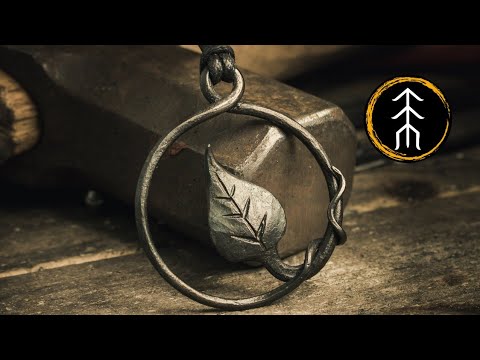
A leaf-shaped pendant is surprisingly satisfying to make. Heat up a small bit of mild steel or copper until it’s bright orange. Flatten it a little, then taper one end for the stem.
Shape the leaf by spreading the metal with gentle hammer taps. Use a chisel or cross-peen to add veins, these tiny details really make it pop.
File off any rough edges and brush the surface. Oil or wax will darken it a bit and bring out the texture.
6) Making a Hand-Forged Keychain
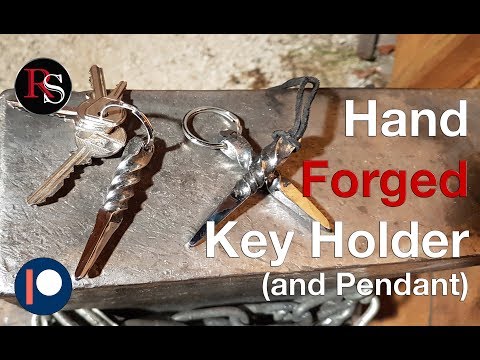
Start with a short piece of round or square bar. Heat it up and hammer it flat into a small leaf or tag shape, nothing fancy, just something to practice control.
Punch or drill a hole for the key ring. File or grind the edges so you don’t end up with a pocket full of scratches. A wire brush finish is quick and looks pretty good.
Add a bit of oil or wax to keep rust away. It’s simple, but you’ll probably end up using it every day. Not bad for a practice piece.
7) Creating a Twisted Metal Ring

Twisting a metal wire into a ring is one of those oddly satisfying tasks. Take a straight piece of mild steel or silver, heat it up, clamp one end in a vise, and twist the other with tongs or a wrench.
If you keep the heat even, you’ll get a nice uniform twist. Stop when it looks right to you, no need to overthink it.
Shape it into a ring using a mandrel and hammer. Sand or polish the edges a little to smooth things out an
8) Crafting a Rustic Candle Holder

A candle holder is a solid project for practicing basic forging. Grab a small piece of mild steel, heat it evenly, and form a round or square base.
Draw out a short stem to hold the candle. Keep it simple and sturdy, no need to get fancy unless you want to.
Add a twist or hammer in some texture if you’re feeling creative. Finish with a wire brush and a bit of oil.
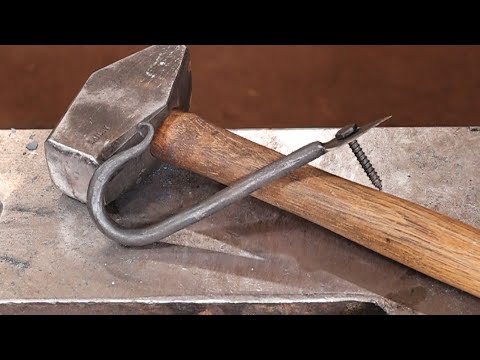
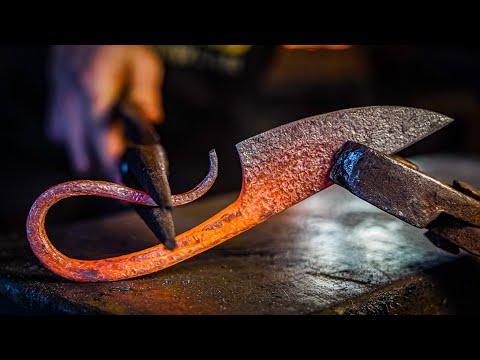
9) Making a Small Meat Hook
A small meat hook is straightforward and honestly kind of fun. With basic tools, hammer, anvil, forge, etc. and you’re set. Heat a short piece of round or square stock, work one end into a sharp point, and curve it into a hook.
Flip it and form a small loop or handle on the other end so it’s easy to hang. Try to keep the bends smooth and balanced so it’ll actually hold some weight.
Brush off the scale, oil it, and you’re done. This simple project is a good intro to tapering and bending with a bit of finesse.
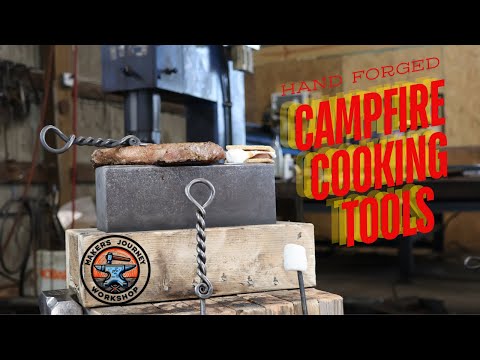
10) Creating a Simple Fire Poker

Making a fire poker is actually a pretty satisfying first project if you’ve got some basic blacksmithing tools and a short chunk of mild steel rod. Heat it up in the forge until it’s glowing orange and then hammer one end into a nice taper for the point.
When it comes to the handle, you can get creative. Some folks twist the metal for extra grip, or bend it into a loop, just depends on your style. Adding a little curve near the tip makes it way easier to move logs around.
Once you’re done shaping, just brush off the scale and rub on a light coat of oil while the metal’s still warm. That’ll keep the rust at bay and give it a nice finish.
11) Forging a Basic Coat Hook
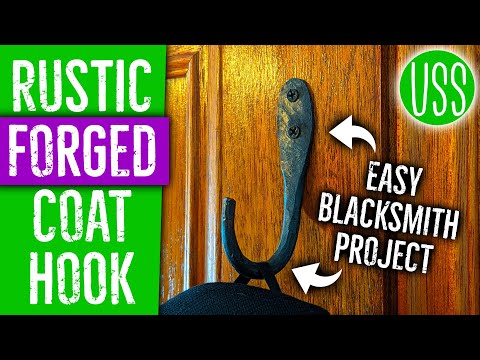
Grab a short piece of mild steel, maybe half an inch thick and heat up one end until it’s glowing, then start tapering it with your hammer to get the curve for the hook.
Once it’s ready, bend the hot end around the horn of your anvil to shape it. Flip the piece and flatten the other end for a mounting plate, or punch a hole if you’d rather screw it into something.
There’s no need to overthink the finish. A quick wire brush and a wipe with a little oil will give it that classic, rustic look that just works in almost any space.
12) Making a Forged Letter Opener

A forged letter opener is a cool little project, and you can use a short piece of steel, rebar or 3/8-inch bar stock both work fine. Heat it up to a bright orange, then hammer it flat, working out the blade shape as you go. Try to keep the edges even and taper the tip for a sharp, clean look.
When you’re happy with the blade, move on to the handle. You could twist it for a bit of flair, or just leave it straight if you’re not feeling fancy. Knock down any rough edges with a file or grinder before letting it cool off.
Finish it up by sanding and polishing. A little oil helps ward off rust and keeps the metal looking sharp; literally and figuratively.
13) Crafting a Small Wall Hook
A simple wall hook is a great way to practice the basics. Take a short piece of mild steel, heat it till it’s glowing, and draw it out a bit to make it longer and thinner.
Taper one end for the hook tip, and flatten or punch a hole in the other end if you want to mount it. Nothing too complicated, really.
Once it’s cooled down, brush off the scale and slap on a little oil to keep rust away. It’s a small project, but you’ll get some solid practice with drawing out, tapering, punching, and bending – all the good stuff.
14) Forging a Simple Knife Blade
If you’re itching to try a blade, grab a piece of high carbon steel like 1084 or 1095. These steels are pretty forgiving, which is nice when you’re still figuring things out. Heat it to a bright orange and get to work.
Taper one end into a point for the blade tip with your hammer. Keep the steel good and hot, and don’t be afraid to flip or rotate it to keep the shape balanced, cracks and bends are a pain to fix later.
Once you’ve got the blade looking how you want, let it cool off slowly. Later, you’ll want to harden and temper it for strength, then grind and sharpen the edge. It’s a process, but honestly, it’s pretty rewarding.
15) Creating a Basic Tongs
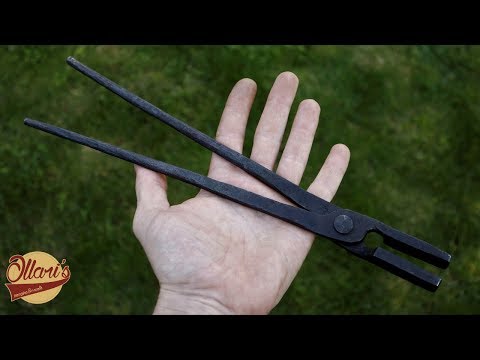
You’ll end up using tongs for pretty much every blacksmithing job, so making your own is just a smart move. Start with some mild steel flat bar – about 25mm wide and 6mm thick works well. It’s easy to shape and holds up to regular use.
Heat the bar up and draw out the jaws first, making sure both sides are the same length so your tongs actually line up. A good pair should grip metal tight without slipping, otherwise, what’s the point?
Punch or drill a hole for the rivet, line up both halves, and fasten them together loosely. While the metal’s still warm, check the movement and tweak the jaws as needed.
16) Forging a Small Hammer Head

You’ll need a good steel, a hot forge, and yeah, a bit of patience for this one. Heat up the steel until it’s glowing a nice, bright orange. Then start shaping it, hammering steadily but not too hard. Rotate the piece as you go so you end up with balanced faces, not some lopsided mess.
When you’ve got the general shape down, punch or drill out the eye for the handle. Do this while the steel’s still hot enough to work with (otherwise, you’re in for a struggle). If it cools off, no big deal. just toss it back in the forge for a bit.
After you’re happy with the shape, go ahead and normalize the head and then quench it for strength. Grind the faces smooth, and fit a wooden handle. With a little effort, you’ll have a solid, usable hammer you made yourself.