Sand just has this way of making people want to create something, doesn’t it? Whether you’ve got a bucket from the beach or a bag from the craft store, it’s surprisingly fun to turn those tiny grains into something that actually feels special. It’s kind of amazing how a little sand and a handful of supplies can turn into keepsakes, art, or even décor that’s actually meaningful.
There are all sorts of directions you can go, from quick decorative pieces to memory-filled projects. Each one’s a little different; maybe you want to jazz up your space, make a gift, or just freeze a moment in time.
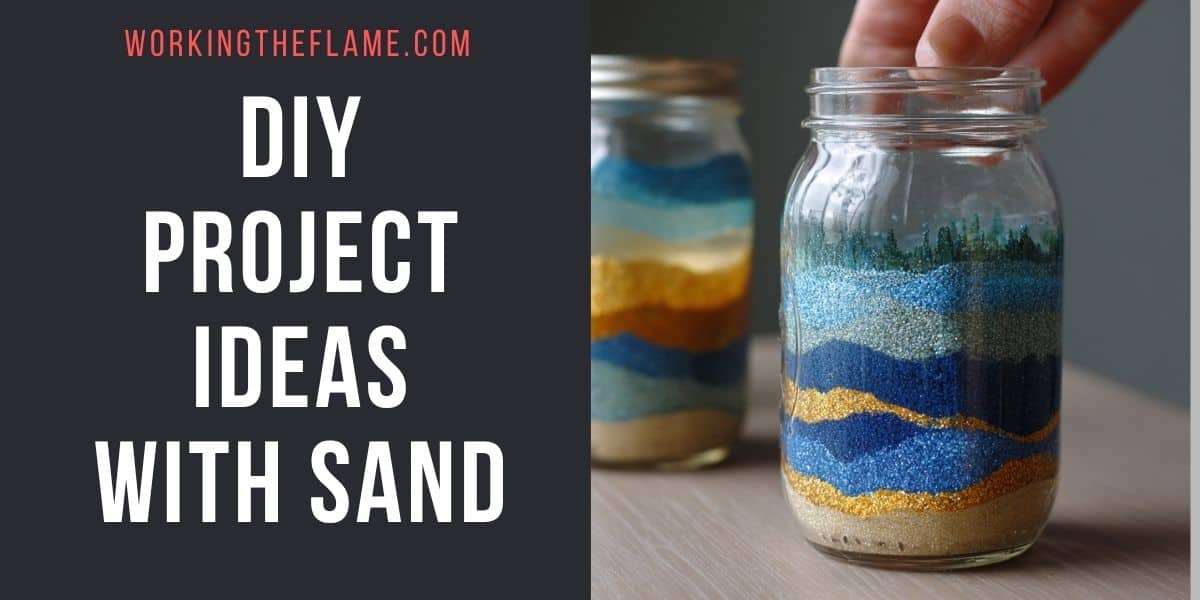
1) Layered Sand Art Jars
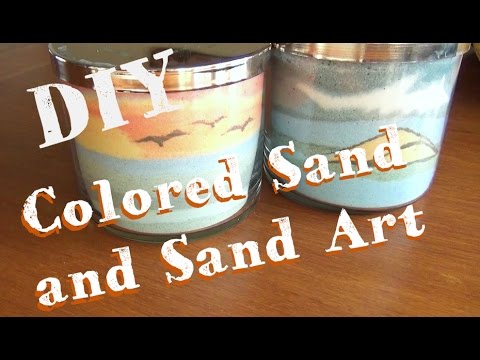
Making layered sand art jars is one of those projects that’s almost meditative. Grab a clear container, some colored sand, and just pour in one color at a time. You can keep it simple with stripes or try for wild patterns if you’re feeling ambitious.
A funnel (or even a paper cone) gives you a bit more control. Tilting the jar as you pour can make those cool diagonal layers – way easier than it looks!
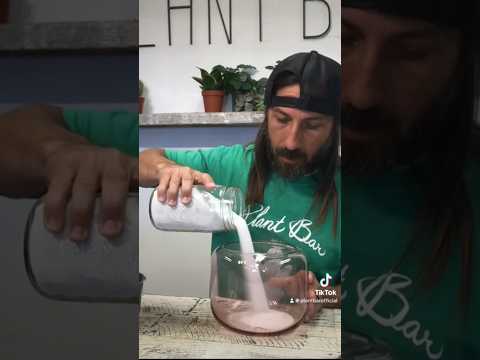
Want your own custom colors? Mix up plain sand or salt with powdered paint. You don’t have to buy a kit if you don’t want to.
2) Framed Sand Art Displays

If you’ve got a plain picture frame lying around, why not fill it with colored sand? The glass lets you show off all the layers and textures, and you can change up the look every single time.
You don’t have to stop at sand, toss in shells, pebbles, or even dried flowers for a little extra. Suddenly, it looks like something you’d see at a beachy café.
Play with frame sizes and sand colors to make a gallery wall that isn’t boring. Odd shapes and unexpected color combos make it feel less predictable.
3) Sand Art Terrariums
Layering colored sand in a terrarium is a nice way to make your plants stand out. The lines peek through the glass and just make everything pop a little more.
Start with a see-through container, and just pour in sand, layer by layer. If you want, throw in some pebbles or shells for texture.
Succulents and air plants are perfect since they don’t need much soil. Or, honestly, you can skip the plants and just make a sand display if you’re not into watering things.
4) Sand Art Candles
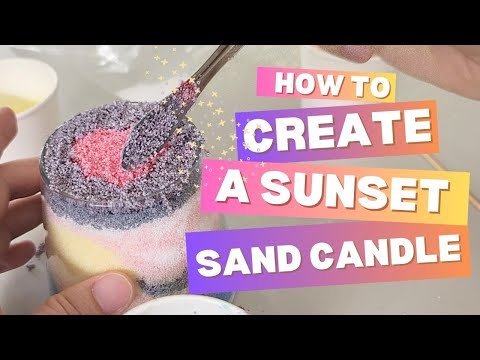
Layer some colored sand in a glass container, drop a candle in the middle, and you’ve got a sand art candle. You get to choose the colors, the patterns – make it as wild or as subtle as you want.
Tilt the jar for angled stripes, or keep it straight and neat. Once you’ve got your layers, just set a tealight or votive on top. The candle sits snug, and the sand does all the decorating for you.
5) DIY Sand Shadow Boxes

Got some leftover sand and shells from a trip? Toss them into a shadow box. The depth lets you play around with layers: sand at the bottom, shells, driftwood, sea glass, whatever you’ve got.
A little craft glue or foam dot here and there keeps things where you want them. Photos, postcards, or handwritten notes add a bit of story to the whole thing. It’s a craft and a memory, all in one neat little box.
6) Sandcastle Sand Art Project for Kids

Bring the beach inside with a sandcastle project. Kids love cutting out castles, gluing on sand, and adding their own decorations. It’s not fussy, and you barely need any supplies.
Grab a castle template, some glue, and a handful of sand. Let them go wild with shells, little flags, or whatever shapes they dream up.
It’s a quick craft that keeps them busy, and honestly, it’s fun to see what they come up with.
7) Sand Paper Painting

Sandpaper isn’t just for woodwork. It actually makes a cool, gritty surface for painting projects. Kids seem to love using crayons or chalk on it, and the texture gives everything a unique look.
Tape a few sheets together if you want a bigger “canvas.” It’s also not as messy, colors don’t smudge as much as on regular paper.
Got scraps left? Use them for mini art pieces or just to try out ideas before you commit to something bigger.
8) Oceanside Ornaments
Mix up some sand dough and make simple ornaments that actually hold their shape. It’s basically just a few basic ingredients, and you can cut out stars, shells, or whatever shape you like.
Press in beads, shells, or stones while the dough’s still soft. That little detail makes each one feel a bit more personal.
Once they’re dry, poke a hole at the top, add a string, and you’ve got a keepsake for the tree or the wall, or just to remember a good day at the beach.
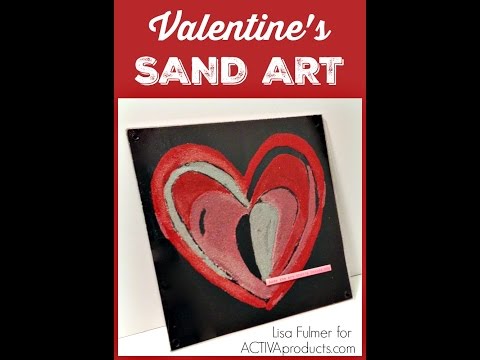
9) Sea Scene Sand Paintings

Sea scene sand paintings are a fun way to get that beachy vibe at home. Just combine sand and glue on a canvas, then paint in the sky and waves. The sand gives you real texture, no fancy skills needed.
Spread glue where you want sand, press it down, then let it dry. After that, paint the ocean, add a few shells or pebbles if you’re feeling it, and you’ve got a piece that’s both handmade and kind of cool.
10) Hand in the Sand Impressions

Press your hand into damp sand, fill the imprint with plaster or a sand-clay mix, and you’ve got a keepsake that’s literally one-of-a-kind. Works great at the beach, but you can do it at home too with a tray of sand.
Decorate around the edge with shells or driftwood for a bit more personality. Once it’s dry, it’s surprisingly sturdy and makes a sweet gift, especially if you’re using little kid hands.
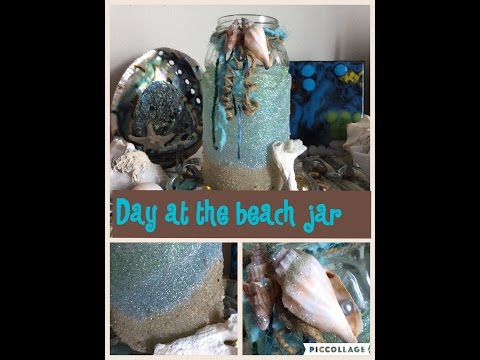
11) Marvelous Memory Jars with Sand
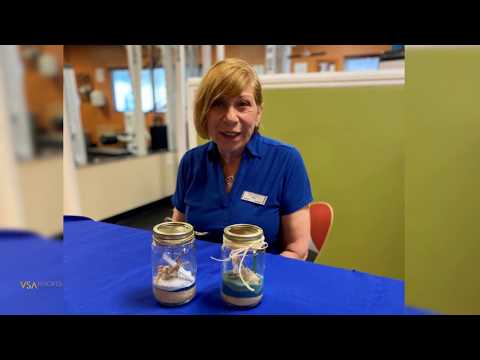
A memory jar is simple: fill a clear container with sand from a trip, and toss in shells, stones, or even a ticket stub. It’s a tiny time capsule.
Stick a photo inside or tie one to the outside, maybe with a little twine or ribbon. It doesn’t have to be fancy to feel special.
Over time, you’ll have a row of jars that each tell a different story. Kind of nice, right?
12) Sand Bowls with Glue and Plastic Wrap
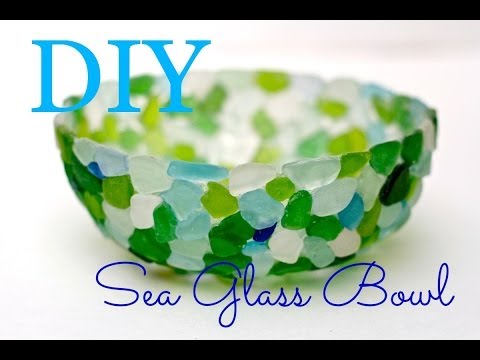
Making sand bowls is easier than you’d think. Flip a bowl upside down, cover it with plastic wrap, then spread on a thick paste of sand and white glue.
Let it dry, add another layer if you want it sturdier, and when it’s all set, peel it off. You’ll have a lightweight bowl that’s perfect for holding trinkets or just sitting on a shelf.
13) Modern Sand Wall Art

For a modern look, layer colored sand on a canvas or board – stripes, shapes, or just abstract patterns. It gives your space a clean vibe without being too fussy.
Painter’s tape or stencils help keep lines sharp, so you can do geometric stuff without much hassle. Try out different color combos: neutrals if you want calm, bold if you’re feeling brave. Just don’t forget to seal it with clear adhesive spray so the sand actually stays put.
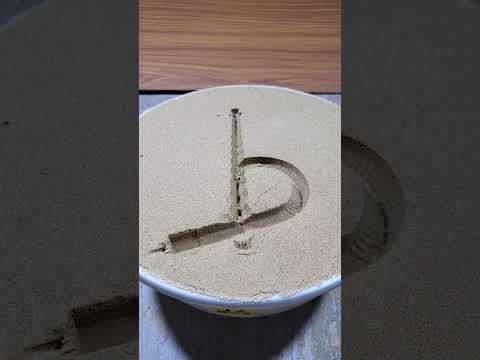
14) Colored Sand Mandalas

Making a colored sand mandala is a slow, almost meditative process. You can start with a printed template if you want something easy, but honestly, sketching your own outline feels more personal. With a handful of colored sand, you fill in each section bit by bit, focusing on the shapes and which color goes where, as it’s kind of relaxing.
You’ll find colored sand at most craft stores, but if you’re up for a little DIY, just mix food coloring with plain sand. Some folks even use dyed salt, which works surprisingly well and doesn’t cost much. Either way, you’ve got options.
No need for fancy tools here. A spoon, a funnel, or just a folded scrap of paper will help you place the sand where you want it. It’s all pretty forgiving, so your design stays tidy without much fuss.
15) Sand Art Greeting Cards with Glitter
If you’re tired of plain greeting cards, adding sand art gives them a little something extra. Grab a blank card, brush on some glue wherever you want color, and sprinkle on the sand. Let it dry, shake off the excess, and you’re halfway there.
A bit of glitter makes everything pop. You can mix it right in with the sand, or use it by itself for a highlight – totally up to you. Borders, letters, or a few shapes look great with that shimmer.
Honestly, simpler designs usually work best. Just a couple of bold shapes or accents and the card stands out without getting messy.
16) Beach Wedding Sand Anniversary Jars
Some couples fill a jar with sand from each beach they visit together for every anniversary. The layers end up telling a story, each one a reminder of a trip or a milestone, which is honestly kind of sweet.
You can toss in a few tiny shells, pebbles, or a tag with the date to make each jar more personal. Lining them up on a shelf, you get a little timeline of your adventures.
There’s no rule here. Some people like matching jars for a neat look, others just grab whatever size or shape is handy.
17) Sand Art Coasters
Making coasters with sand is a fun little project. Mix sand with glass or tile pieces, the sand acts like grout, filling in the spaces and giving the coaster a cool texture.
You’ll want a sturdy base, like cork or wood. Spread on some glue, arrange your mosaic bits, and shake sand into the gaps. Once it’s dry, seal it all with a clear coat.
It’s a nice way to play around with color and texture, and you don’t need any fancy tools. The end result is a set of coasters that’s actually useful and a bit artsy.
18) Sand-Filled Glass Bottle Decor

If you’ve got some empty glass bottles lying around, filling them with layers of colored sand turns them into simple, eye-catching decor. Play around with different colors for striped patterns, using a small funnel definitely helps keep things tidy.
A few shells, pebbles, or pieces of beach glass can add a nice touch. Clear bottles show off the details best, but honestly, any jar will do. Smaller bottles are less hassle to fill, but bigger ones let you get creative with the layers.
You probably already have most of what you need, so it’s an easy way to add a little color to a windowsill or desk.
19) Sand Art Picture Frames

Plain picture frames get a lot more interesting with a layer of sand and a few little shells. Just brush on some glue, sprinkle sand over it, and press in more sand if you want extra texture before it dries.
Mixing sand colors can give you a striped or layered effect, which looks especially good with summer or beach photos.
Try adding shells, tiny stones, or even driftwood for more detail. Just keep the decorations around the edges so your photo stays front and center.
20) Sparkling Sand Embossed Cards

Ever wanted to make handmade cards that actually feel like the beach? Mixing fine sand with your embossing powders gives cards a cool, grainy texture you just can’t get from paper alone. Toss in a bit of glitter, and suddenly your card catches the light in all the right ways.
Just stamp your design with embossing ink, then sprinkle on your sand-and-powder mixture. Heat it up, carefully, so the powder melts but the sand stays put. It’s a bit fiddly, but the result’s worth it.
Layer on some embossed shells, seaweed, or maybe a sand dollar if you’re feeling artsy. Neutral cardstock – think beige or a pale tan – really helps that sandy vibe pop.