
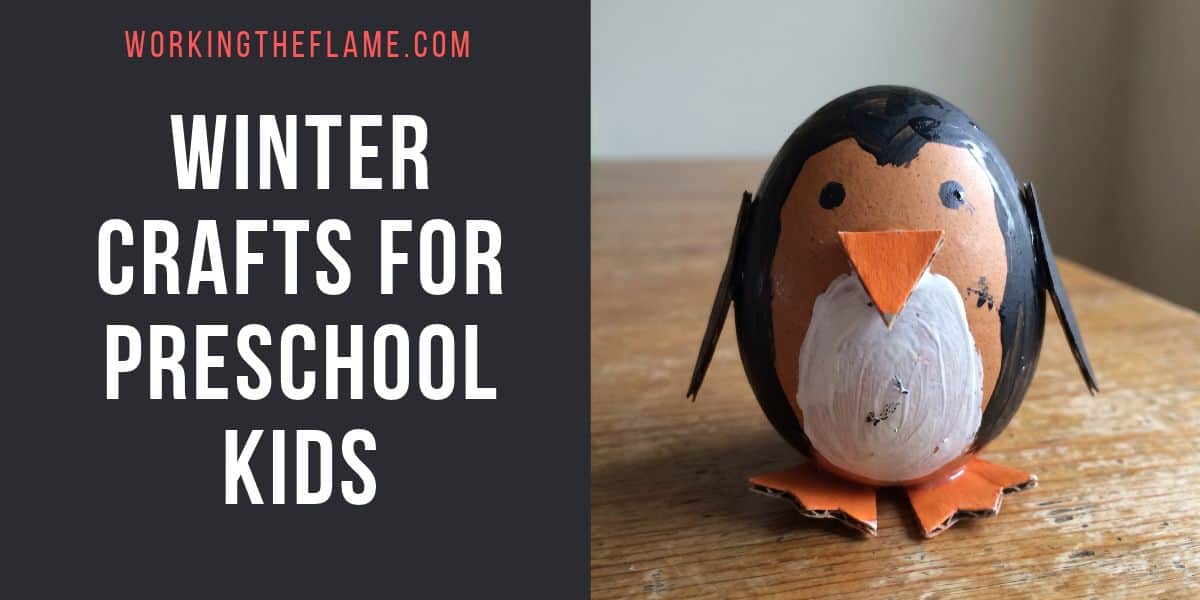
You can make preschool-friendly winter crafts with familiar supplies, turning cotton balls into polar bears, paper plates into snowmen, and painted fingerprints into snowy trees. You also have plenty of room for colorful mittens and winter scenes, even when snow never reaches your neighborhood.
For hands-on projects with your kids, prepare any tricky cutting ahead of time and leave the decorating choices to your preschooler. Use washable, age-appropriate supplies and supervise scissors and small materials. The preparation and drying times below are planning estimates; thick glue or paint needs extra time.
1) Cotton Ball Polar Bears

You get a soft, textured polar bear by pressing cotton balls onto a simple paper face.
Supplies
- Blue cardstock
- White and black construction paper
- Cotton balls
- Washable school glue
- Scissors and a black marker
Your preparation: Allow about 5 minutes to cut a large white circle, two rounded ears, and a paper nose. Glue the face and ears onto the blue background.
Your preschooler’s steps:
- Spread a thin layer of glue across the bear’s face.
- Pull cotton balls into smaller tufts and press them down.
- Add the paper nose and draw eyes on small white paper patches.
With cotton crafts, you keep the texture manageable by offering a small handful at a time. For an easier version, offer whole cotton balls and a glue brush.
Allow several hours to dry flat. As you work, introduce the Arctic as the polar bear’s home; wild penguins live in the Southern Hemisphere.
2) Paper Plate Snowmen

A white paper plate gives you a ready-made snowman face with very little setup.
Supplies
- White paper plate
- Orange and black construction paper
- Washable markers
- Glue stick
- Scissors
- Optional fabric strip
Your preparation: Spend about 5 minutes cutting a carrot-shaped nose and a broad paper hat. Prepare large paper circles for the eyes, or leave those details for drawing.
Your preschooler’s steps:
- Glue the nose near the center of the plate.
- Add eyes and draw a dotted smile.
- Attach the hat along the top edge.
- Glue a paper scarf across the bottom.
You give your child practice placing shapes while leaving plenty of freedom over the snowman’s expression. A few fabric scraps add texture if you have them handy; attach them with school glue and allow several hours to dry.
For a quicker version, use markers and paper pieces throughout. Let glue-stick joins set before displaying.
3) Penguin Handprint Crafts

Your preschooler’s traced hand becomes a penguin with a white belly and orange paper feet.
Supplies
- Black, white, and orange construction paper
- Blue background paper
- Pencil and scissors
- Glue stick
- White crayon or washable marker
Your preparation: Allow 5–10 minutes to trace your child’s hand and cut around the outline. Round off the middle three fingertips to create a head, leaving the thumb and pinkie as flippers.
Your preschooler’s steps:
- Glue the penguin onto the background with its wrist edge pointing down.
- Press a white oval belly onto the center.
- Add an orange beak and two feet.
- Draw eyes and snowy marks around the penguin.
For simpler handprint crafts, you handle the outline cutting while your child places the larger pieces. Let the glue set flat before lifting.
You can introduce Antarctica as home to some penguin species, while explaining that other penguins live in warmer Southern Hemisphere habitats.
4) Paper Mitten Pattern Collages

Paper mittens give your preschooler a roomy surface for experimenting with repeating colors and shapes.
Supplies
- Construction paper
- Colored paper scraps
- Tissue paper
- Crayons
- Glue stick and scissors
Your preparation: Take about 5 minutes to cut two large mitten shapes with broad thumbs. Offer strips and large squares for easy handling.
Your preschooler’s steps:
- Color the mitten backgrounds.
- Arrange paper pieces across each mitten.
- Glue down the chosen arrangement.
- Add a wide paper cuff along each bottom edge.
You can model a red-blue-red-blue sequence, then let your child continue or invent a different design. With craft-paper projects, you also have an easy opportunity for tearing practice.
For developing skills, offer two colors and larger pieces. Leave the mittens flat while the adhesive sets; tissue paper needs only a light swipe of glue to avoid tearing.
5) Fork-Painted Snowflakes

You create branching snowflake marks by stamping a blunt fork into white paint and rotating your paper.
Supplies
- Dark blue or black construction paper
- Washable white tempera paint
- Blunt-tined plastic fork
- Shallow paint tray
- Table covering
Your preparation: Allow about 3 minutes to spread a thin puddle of paint in the tray. Demonstrate pressing and lifting the fork while you supervise its use.
Your preschooler’s steps:
- Dip the underside of the fork tines into paint.
- Press a print onto the paper.
- Turn the paper and stamp around the same center.
- Repeat elsewhere to fill the winter sky.
You get strong contrast with black-paper crafts, so a small amount of white paint shows clearly.
For an easier adaptation, let your child explore scattered fork prints. If you discuss real snow crystals, introduce their six-sided structure without requiring a precise stamped model. Allow about 30–60 minutes for thin paint to dry.
6) Fingerprint Winter Trees

A drawn tree becomes a snowy winter scene when your preschooler dots white fingerprints along its branches.
Supplies
- Blue construction paper
- Brown washable marker
- White washable finger paint
- Shallow paint dish
- Damp washcloth
Your preparation: Spend about 3 minutes drawing a trunk with thick, bare branches. Set out a small amount of paint.
Your preschooler’s steps:
- Touch one fingertip lightly into the paint.
- Dab snow along the branches.
- Add falling snow across the sky.
- Make a snowy ground line with overlapping prints.
You give your child practice controlling individual dabs and choosing where marks go. Invite a comparison between closely packed dots and widely spaced snowflakes.
If your child prefers keeping paint off their hands, offer a small sponge held directly between their fingers. Leave the picture flat for roughly 30–60 minutes, then wash hands with soap and water.
7) Paper Mug Hot Chocolate Crafts

You build a pretend hot chocolate mug from paper shapes, with white paper marshmallows for counting practice.
Supplies
- Colored construction paper
- Brown and white paper
- Background cardstock
- Crayons
- Glue stick and scissors
Your preparation: Allow 5–10 minutes to cut a large mug body, a curved handle, and a brown oval for the cocoa surface. Prepare several large white marshmallow squares.
Your preschooler’s steps:
- Glue the handle onto the background.
- Overlap it with the mug body.
- Attach the brown oval near the mug’s top.
- Add paper marshmallows and decorate the mug.
You can count each marshmallow as your child places it, then compare mugs with different amounts. Offer torn white paper if cutting small squares feels frustrating.
Let the glue set before lifting the picture. Add curling crayon lines above the cocoa to represent steam, keeping the whole activity a paper-based pretend-play project.
8) Winter Hats with Cotton Wool

A simple paper hat becomes a cozy winter craft with crayon colors and a fluffy cotton-wool trim.
Supplies
- Paper or lightweight cardstock
- Washable crayons
- Cotton wool
- School glue
- Scissors
Your preparation: Draw or print a large hat shape on the paper. Cut it out, or let your child cut it with supervision if they’re ready to use scissors.
Your preschooler’s steps:
- Color the hat with crayons.
- Add glue along the bottom edge or brim.
- Pull the cotton wool into small pieces.
- Press the cotton wool onto the glue to make a fluffy trim.
Use small pieces of cotton wool so they’re easier to place, and let the hat dry before displaying it. For a simpler adaptation, prepare the hat shape and glue the cotton wool in place yourself.