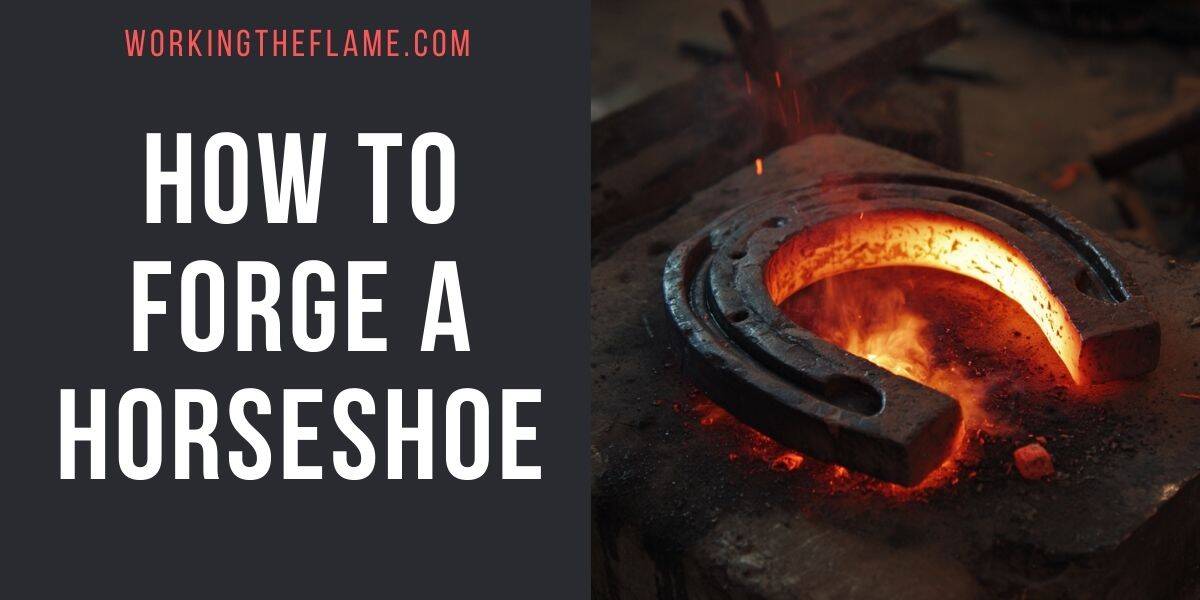
Learning how to forge a horseshoe from a raw piece of steel is a rewarding blacksmithing project that combines precision, skill, and craftsmanship. Horseshoes must be carefully shaped to fit a horse’s hoof comfortably and securely, with smooth edges and correctly placed nail holes to avoid injury. This guide will take you through the entire process, from preparing your steel bar to the final fitting touches on your handmade horseshoe.
Whether you are a novice blacksmith or an enthusiast looking to sharpen your skills, this detailed tutorial will help you understand the fundamentals of horseshoe forging and produce a durable, practical shoe.
Tools and Materials Needed
- Concave steel bar (horseshoe blank)
- Forge or other heat source capable of reaching forging temperatures
- Anvil
- Blacksmith’s hammer (cross-peen or rounding hammer recommended)
- Wire brush (even a worn one works)
- Center punch or marking tool
- Calipers or measuring tools
- Pritchel (nail hole punch)
- Horseshoe nails (for test fitting)
- Tongs for handling hot steel
- Safety equipment (gloves, eye protection, apron)
Estimated Time Required
Typically, learning how to forge a horseshoe takes between 1 to 2 hours depending on your experience level, tools, and workspace setup. Beginners may take longer as they get accustomed to the techniques and heating cycles.
How to Forage a Horseshow Video Tutorial:

Step 1: Finding and Marking the Center of Your Steel Bar
The first step in forging your horseshoe is to accurately locate the center of your steel bar. This is critical because the center point will serve as the reference for shaping the toe bend and ensuring symmetry on both sides of the shoe.
There are two main methods to find the center:
Measurement Method: Use a tape measure or ruler to measure the total length of the steel bar and mark the midpoint with a center punch or marker.
Balance Method: Place the steel bar on the edge of your anvil and carefully balance it. The point where it balances naturally is the center. Mark this spot clearly with a center punch.
Marking the center precisely will help you maintain even bends and ensure the horseshoe’s shape is balanced, which is essential for the comfort and safety of the horse.
Step 2: Heating the Steel and Forming the Toe Bend
Once the center is marked, it’s time to heat the steel in your forge. Bring the steel to a bright orange or yellow color – this indicates it is hot enough to shape without cracking.
Position the steel on your anvil so the center mark aligns with the edge. Using your hammer, begin shaping the toe bend, which is the curved front part of the horseshoe. This bend should be smooth and rounded, resembling the natural curve of a horse’s hoof.
Between hammer strikes, use a wire brush to clean scale and oxidation from the steel. This not only helps you see your progress clearly but also prevents buildup that can affect the quality of your work. Even a wire brush with few bristles remaining can effectively remove scale.
Step 3: Marking the Toe Nail Positions
With the toe bend formed, use calipers to measure where the first two nail holes will be placed on the toe area of the shoe. Accurately marking these spots is crucial because the nails secure the shoe to the hoof without causing damage.
Lightly punch these marks with a center punch to create shallow indentations. At this stage, you’re not punching holes through the steel but simply marking reference points. This helps you visualize nail placement and ensures your shoe will have proper balance and hold.
Step 4: Shaping and Rounding the Heels
Next, focus on the heels – the rear ends of the horseshoe. Observing a manufactured horseshoe can help you understand the ideal shape: the heels should be rounded and smooth to prevent the horse from catching itself or sustaining injuries.
Reheat the ends of your shoe and hammer them to create a rounded, smooth contour. Add a slight heel check, which is a small upward bend at the heel’s edge. This detail improves the shoe’s fit and provides extra grip for the horse.
Take your time with this step to ensure the heels are symmetrical and comfortable for the horse’s movement.
Step 5: Forming the Branches of the Horseshoe
The branches are the two arms extending from the toe bend to the heels. These need to be shaped carefully to provide strength and a proper fit.
Heat the shoe again and hammer along each branch to achieve the desired thickness and taper. The branches should be even in size and shape to maintain balance.
This step requires patience and careful observation to ensure the shoe will sit evenly on the hoof.
Step 6: Punching the Nail Holes
With the shoe shaped, it’s time to create the nail holes. Heat the shoe to forging temperature once more.
Using a pritchel or nail hole punch, carefully punch holes at the previously marked spots along the branches. Begin punching from the hoof side partway through, then flip the shoe and finish the hole from the other side. This technique creates clean, smooth holes that allow nails to pass through easily without splitting the steel.
Typically, a front horseshoe will have three to four nail holes on each branch, spaced evenly for secure attachment.
Step 7: Cleaning and Finishing the Horseshoe
After punching the nail holes, use your wire brush to clean the entire shoe, removing all scale and debris.
Use the back of the pritchel to smooth and clean out the nail holes further. This ensures the holes are free of sharp edges that could damage the nails or the horse’s hoof.
Test-fit actual horseshoe nails to confirm the holes are the correct size and that nails fit snugly without excessive force.
Make any necessary adjustments to smooth edges, blend bends, and fine-tune the overall shape of the shoe.
Step 8: Final Inspection and Quality Check
Before considering the shoe complete, perform a thorough inspection:
- Symmetry: Check that both branches are evenly shaped and sized.
- Nail Holes: Ensure all holes are clean, properly spaced, and sized correctly.
- Heels: Confirm the heels are rounded and have the appropriate heel checks.
- Overall Shape: Compare your forged shoe to the intended hoof size and shape to ensure a proper fit.
This final quality check is important for the safety and comfort of the horse.
Congratulations! You have successfully forged a front horseshoe from a steel bar. This process requires a combination of skill, patience, and attention to detail, but the results are rewarding. A well-forged horseshoe not only protects the horse’s hooves but also contributes to its overall health and performance.
Keep practicing these techniques to improve your proficiency. With time, you can experiment with different styles of horseshoes and advanced forging methods.