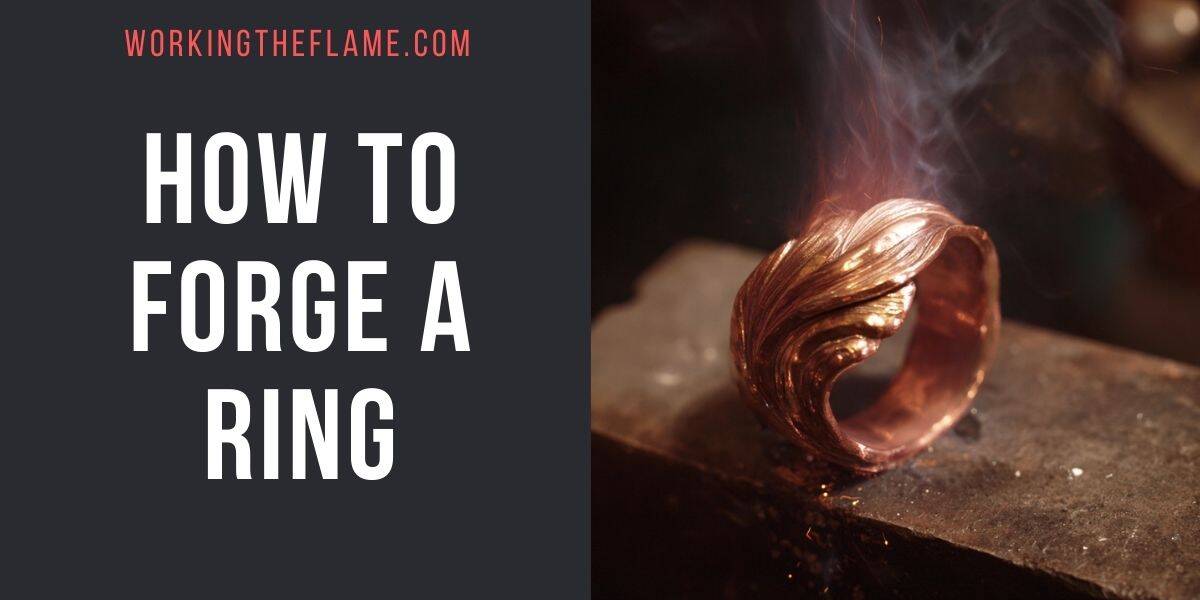
Learning how to forge a ring from a raw piece of copper is a rewarding blacksmithing project that is great for both beginners and more seasoned smiths. This project combines precise tapering, shaping, and curling techniques to create a unique piece of jewelry. Copper’s excellent heat conductivity and malleability make it an ideal metal for this type of detailed work.
By following these steps, you’ll gain skills in tapering, forming delicate shapes, and creating decorative scrolls, all without needing complex tools beyond the basics.
Tools and Materials Needed
- 1/4 inch copper bar or strip
- Forge or heat source capable of heating copper
- Anvil
- Hammer (preferably a blacksmith or jeweler’s hammer)
- Two-sided tape (for marking and dividing the material)
- Flat and round (cross) dies
- Mandrel (ring sizing tool)
- Tongs (for handling hot copper)
- Wire brush or polishing tools
- Safety gear (gloves, eye protection, apron)
Estimated Time Required
Approximately 1.5 to 2 hours, depending on skill level and working speed.
How to Forge a Ring Video Tutorial:

Step 1: Preparing and Dividing the Copper Bar
Start by applying two-sided tape along the length of your copper bar. This tape will help you visually divide and mark the areas for the leaf and the stem on your ring. The tape acts as a guide to keep your tapers straight and precise as you work.
The piece will be divided into three main sections:
- The leaf area
- The stem area
- The penny scroll (decorative curled end)
Step 2: Initial Heating and Creating the Point
Heat the copper bar in your forge until it reaches a bright orange color suitable for forging. Copper conducts heat very efficiently, so be mindful to use tongs to hold shorter pieces and avoid burning your hands.
Once hot, begin by forming a small pointed tip at one end of the bar. This delicate work requires a light touch to avoid damaging the copper. Drop gentle hammer blows to taper the tip, which will eventually become the leaf’s pointed end.
Step 3: Two-Sided Tapering
Using the anvil and hammer, create a two-sided taper on the copper. This means tapering both sides of the bar symmetrically to reduce the thickness to about half the original dimension. Start tapering near the leaf section, then move toward the stem area.
Work carefully to maintain straight edges and avoid warping the metal. The two-sided taper keeps the piece balanced and helps avoid the need to use tongs except when wrapping the ring.
Repeat the tapering steps, alternating sides, and use your flat die to chop and refine the tapers. This technique is versatile and can be applied to various sizes of metal and projects.
Step 4: Refining the Stem Area
Shift your focus to the stem section of the ring. Heat this area and use your flat die at a slight angle to shape the stem without removing too much material. The goal is to create a neat, polished taper that will blend smoothly into the leaf and the scroll.
After tapering, polish the stem area to prepare it for the next stages.
Step 5: Removing Corners and Creating an Octagon
Next, remove the sharp corners of the copper bar by heating and hammering on the anvil’s edges. This process rounds the piece slightly, preparing it to be shaped into an octagon.
Close off the angles by hammering on all sides evenly. This step prevents air gaps and ensures the ring will wrap smoothly around the mandrel.
Step 6: Rounding the Piece
After creating the octagonal shape, return the copper to the forge for another heat cycle. Use very light hammer blows to roll and round the ring gradually. Roll the piece in one direction, working bit by bit toward the leaf section.
For the leaf area, you may need to adjust your hammering technique by hitting on your hip or shoulder to achieve the right angles and curves. This may feel awkward at first, but it helps you control the shape precisely.
Step 7: Forming the Leaf Shape
With the ring roughly rounded, focus on forging the leaf shape at one end. Start by working on the diamond-shaped leaf area with two-sided tapers.
Use the cross beam of your hammer to gently curve the leaf, creating a valley in the middle without striking the stem area. This method allows you to sculpt the leaf’s natural contours and add dimension.
The two-sided taper technique is versatile and can be used to create various organic shapes, including flowers and animals.
Step 8: Adding Texture to the Leaf
To add texture and detail, use the cross beam of your hammer to lightly tap the leaf surface. This creates a hammered finish that adds visual interest and prevents dents.
Be careful to avoid hammering the stem or other delicate areas.
Step 9: Forging the Penny Scroll
Now, focus on the decorative penny scroll at the opposite end of the leaf.
Heat the copper and use your round die to taper the scroll area longer. A longer taper allows the scroll to roll more before breaking, giving it a graceful, extended curl.
Remove the corners again, forming an octagonal shape before rounding.
Step 10: Wrapping the Ring Around the Mandrel
Heat the entire piece again and use tongs to hold it safely. Wrap the copper carefully around your mandrel, turning it gradually to shape the ring.
Copper can be kneaded cold by hand, but heating it makes the process faster and easier.
Wrap the ring until it cools and holds its shape, then remove it from the mandrel.
Step 11: Finalizing the Penny Scroll
Once cooled, reheat the scroll area and continue rolling it tightly around the mandrel to form the penny scroll.
Work quickly while the copper is hot to avoid cracking. The scroll should curl neatly and hold its shape.
Step 12: Finishing Touches and Polishing
After the penny scroll is formed, use your tongs to squeeze and deepen the scroll if needed.
Brush the entire ring to remove scale and reveal the beautiful copper finish. Polishing can enhance the shine and highlight the hammered texture.
Copper is a joy to work with, offering a warm color and excellent malleability for jewelry making.
You’ve now forged a stunning leaf ring from a simple 1/4 inch copper bar! This project demonstrates essential blacksmithing techniques such as two-sided tapering, shaping, texturing, and curling.
With practice, these skills can be expanded to create intricate floral designs, animal motifs, and other artistic metalwork.